
There’s something really satisfying about a smooth RV hookup and disconnect process. But let’s be honest—it takes practice. Whether it’s your first time towing or you’ve been at this for years, there’s always a checklist running through your head.
In this video and blog, I strapped on a GoPro to walk you through exactly how we hook up our travel trailer to our truck, prepare it for travel, clean out the tanks, and eventually disconnect and store it after a trip. It’s everything we do—step by step—in real time.
🧳 Packing Up and Prepping the Camper
The process starts with closing up the camper. This means packing away anything loose inside, securing drawers and cabinets, and making sure the weight is balanced and distributed. I do a full interior check—locking down anything that might bounce around or shift during the drive. It’s all about reducing movement and protecting the trailer (and your stuff).
Once that’s done, I move outside to the hitch.
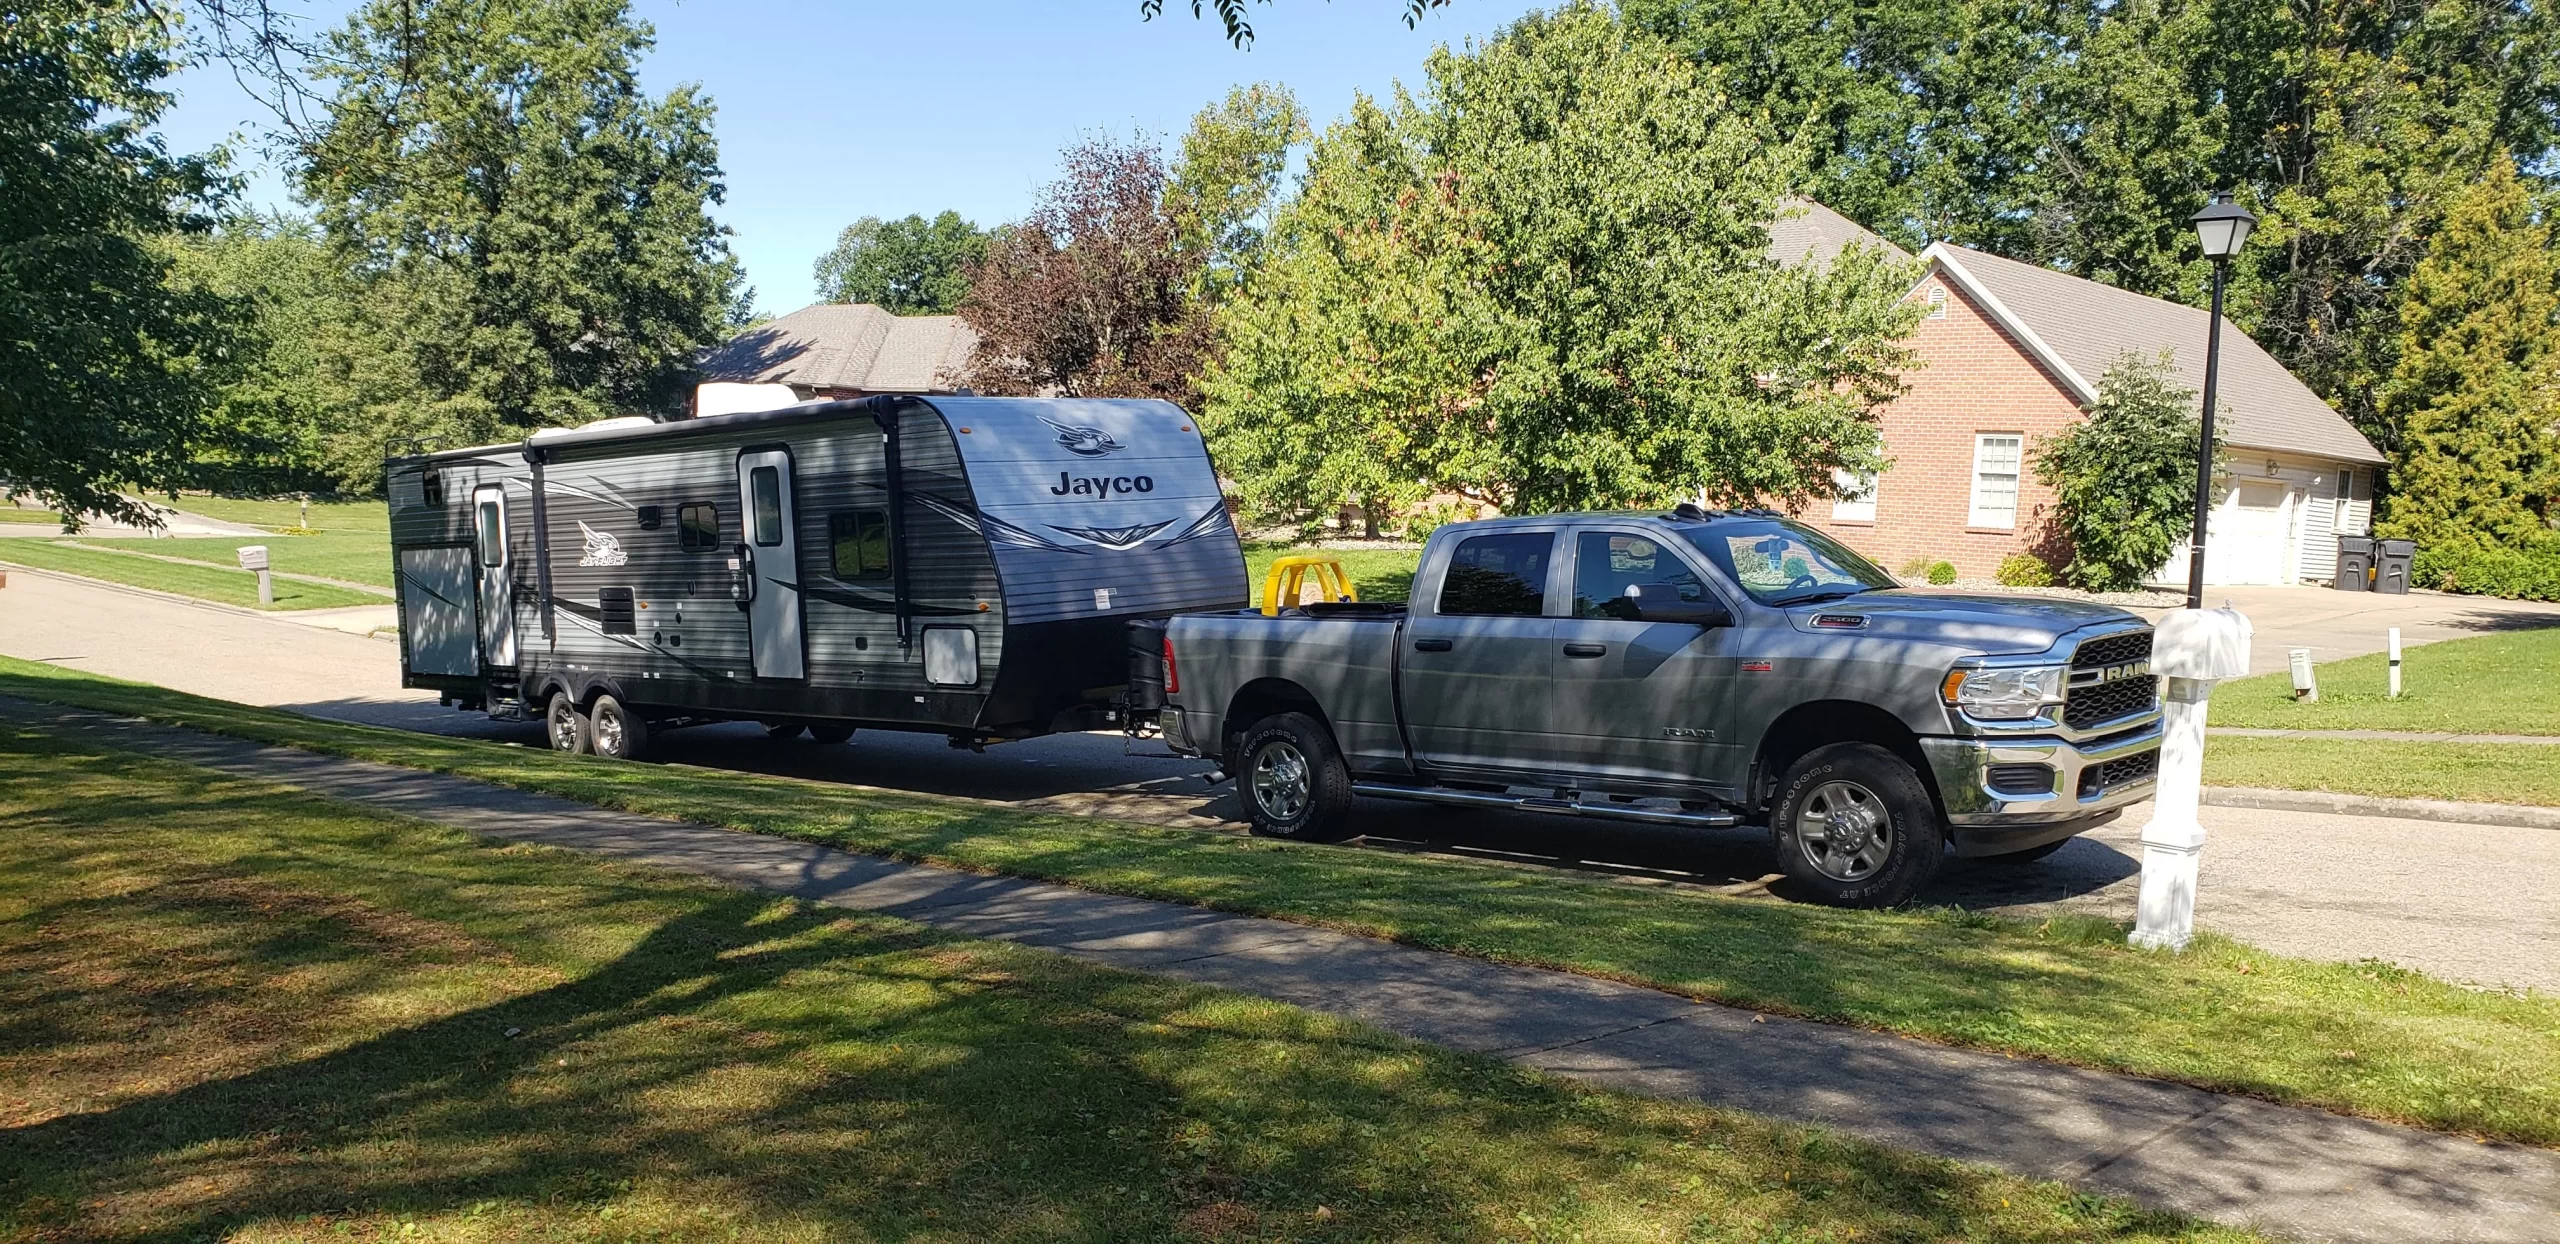
🔗 Hitching Up and Connecting the Sway System
Hitching the trailer to the truck always comes with a few deep breaths. I use a standard electric tongue jack to lower the trailer onto our Dodge Ram’s hitch. Then comes the sway system—specifically, our EAZ Lift sway bars and brake system. These are crucial for control and comfort during travel, especially if you’re driving in wind or on uneven highways.
Once those are connected, I install the sway brake and ensure everything is tightened properly. It’s one of those steps I always double-check before moving.
🧯 Disconnecting Utilities and Stabilizers
Next up: disconnecting power and pulling the X-Chocks from the wheels. I coil the power cord carefully and store it in the camper’s designated spot to keep it clean and tangle-free. Then I release the X-Chocks from between the tires. These add stability when parked and are a must for any travel trailer, especially with kids running around inside.
If we used any sewer or water connections at the campsite, those come off next and get flushed, rinsed, and stowed.
🧼 Cleaning and Draining the Tanks
Before putting the trailer in storage, I always drain the black and gray tanks and flush the system. It’s not the most fun part of RV life, but it’s necessary—and honestly, it’s not that bad once you get the routine down.
I use our tank flush system to give everything a good rinse and make sure the lines are clear. I also check the connections for any leaks or issues while I’m at it. Keeping everything clean helps with odor control and keeps things running smoothly for the next trip.
🚚 Backing Into Storage and Final Disconnect
With the trailer ready, we drive it back to our storage facility. I take it slow while backing through the gate and into our spot. Once we’re parked, I unhitch the trailer from the truck, use the tongue jack to stabilize it, and block the wheels. Then I do one final walk-around—checking locks, seals, and everything else to make sure the camper is secure and ready to rest until the next trip.
🎯 What You’ll Learn Watching the Video
This walkthrough is less about fancy edits and more about showing the real process of camping with a travel trailer. If you’ve ever wondered how long setup and teardown takes or what tools you’ll need (hint: EAZ Lift sway system, X-Chocks, tank rinse hoses), you’ll get the full picture here.
Plus, there’s always something satisfying about seeing that last step completed and knowing you’ve done everything right.